Use your own access
Keep your Windows credentials and connection file individual.


MEMBER WALKTHROUGH · FIRST SESSION
Edited product recording with music and on-screen guidance. Fictional people, team and demonstration data. The running time is not a setup-time promise.
Open videoYou have been invited. What happens next? Follow Buzz’s first session: accepting the Team invitation, finding the right Jump-Desk, checking connection settings and opening a Windows workspace with his own account.
THE PRACTICAL ANSWER
Accept the Team invitation with the intended sign-in account, choose the Team desktop in Jump-IT and confirm that your Windows access is ready. Review the connection options, use your own connection file with a supported remote-PC app, and sign in to Windows with your individual Windows credentials.
Know what to expect after the invitation.
Use a supported remote-PC client.
Test the application you actually need.
WATCH OR READ
Use these notes to follow the video at your own pace.
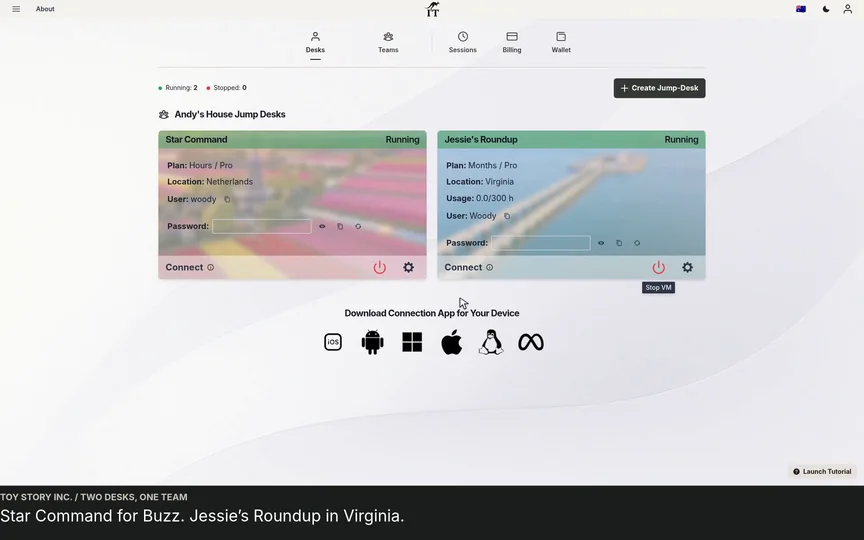
Buzz accepts the invitation to Andy’s House.
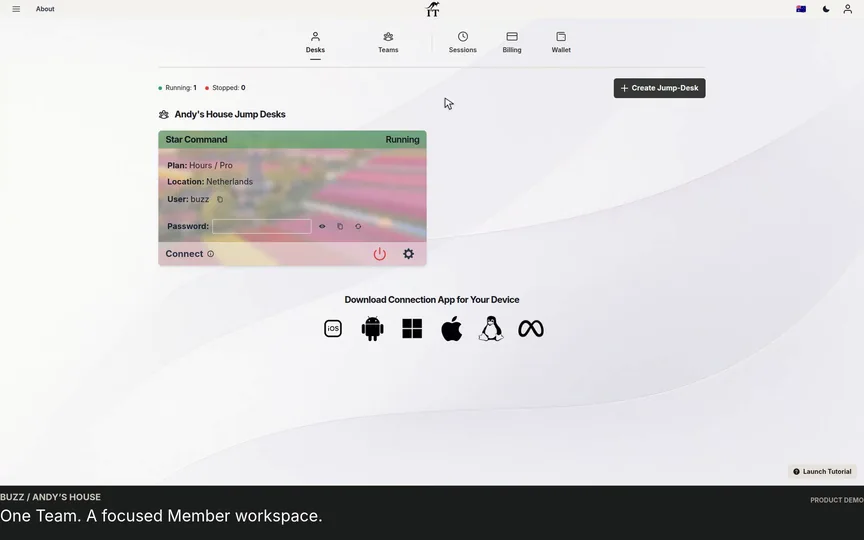
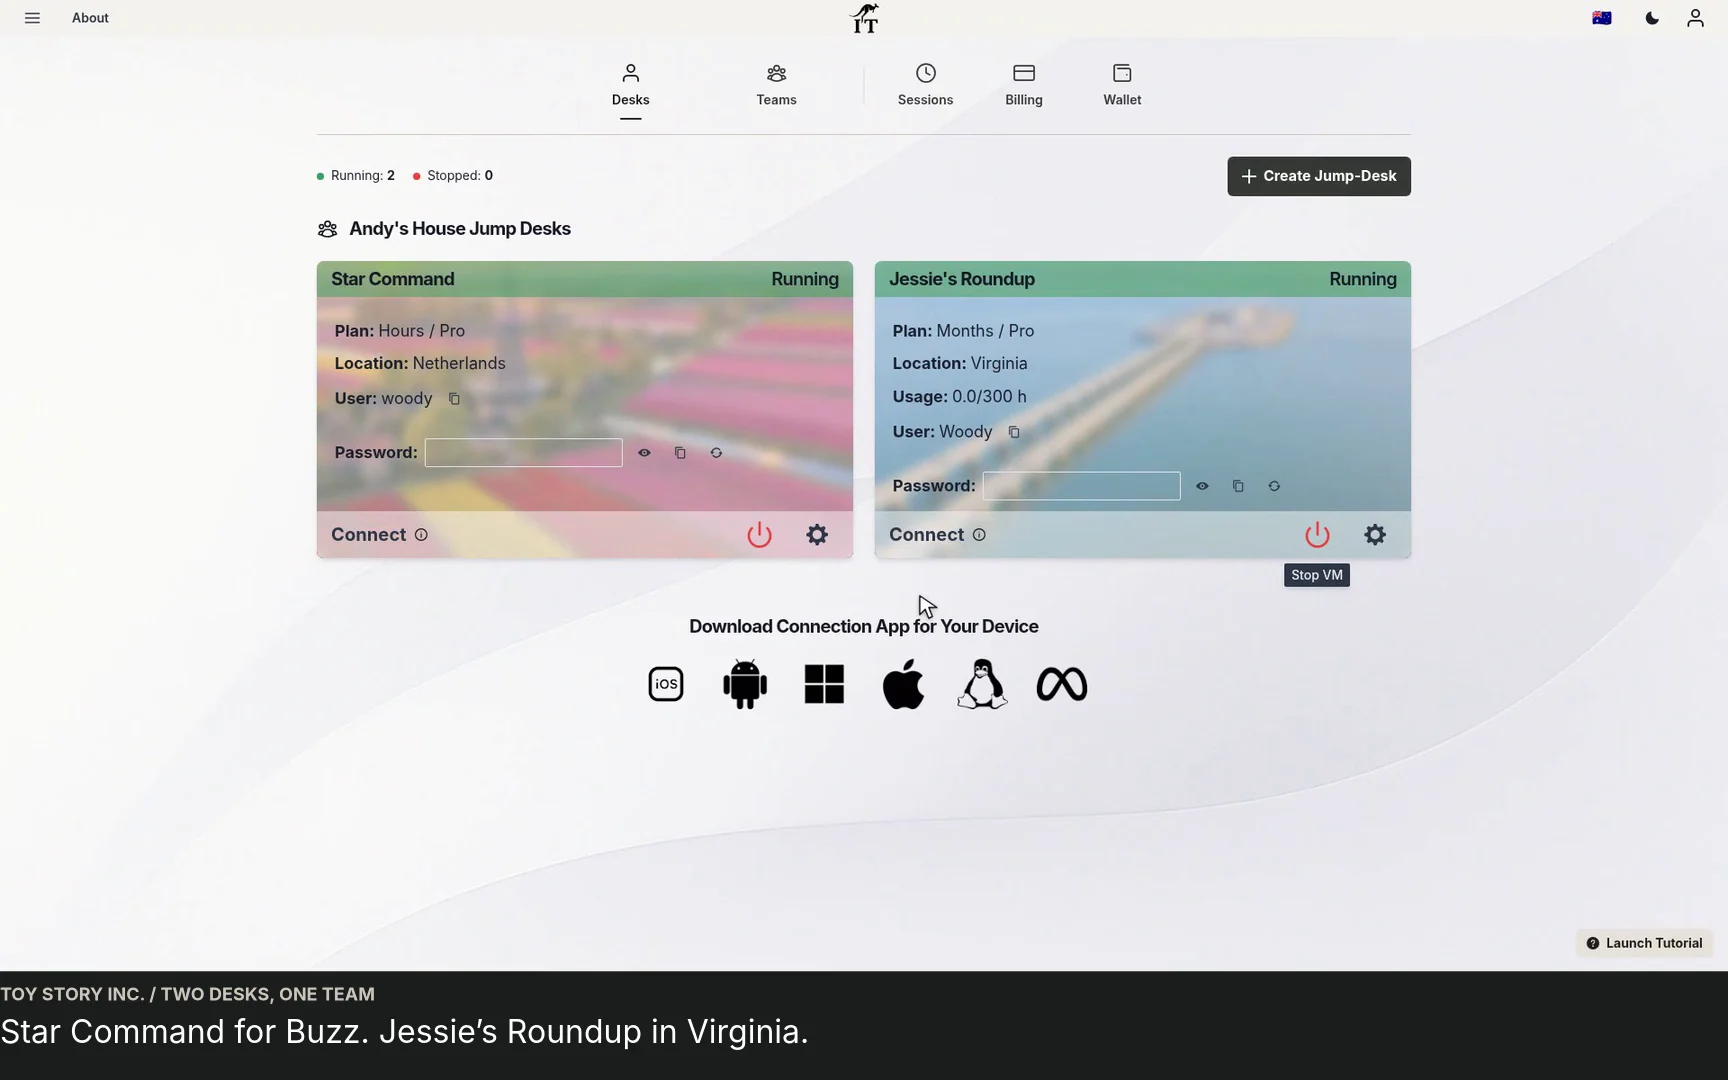
The member’s Desks view shows the available Star Command Jump-Desk.
The recording shows the Member role and the people in the Team.
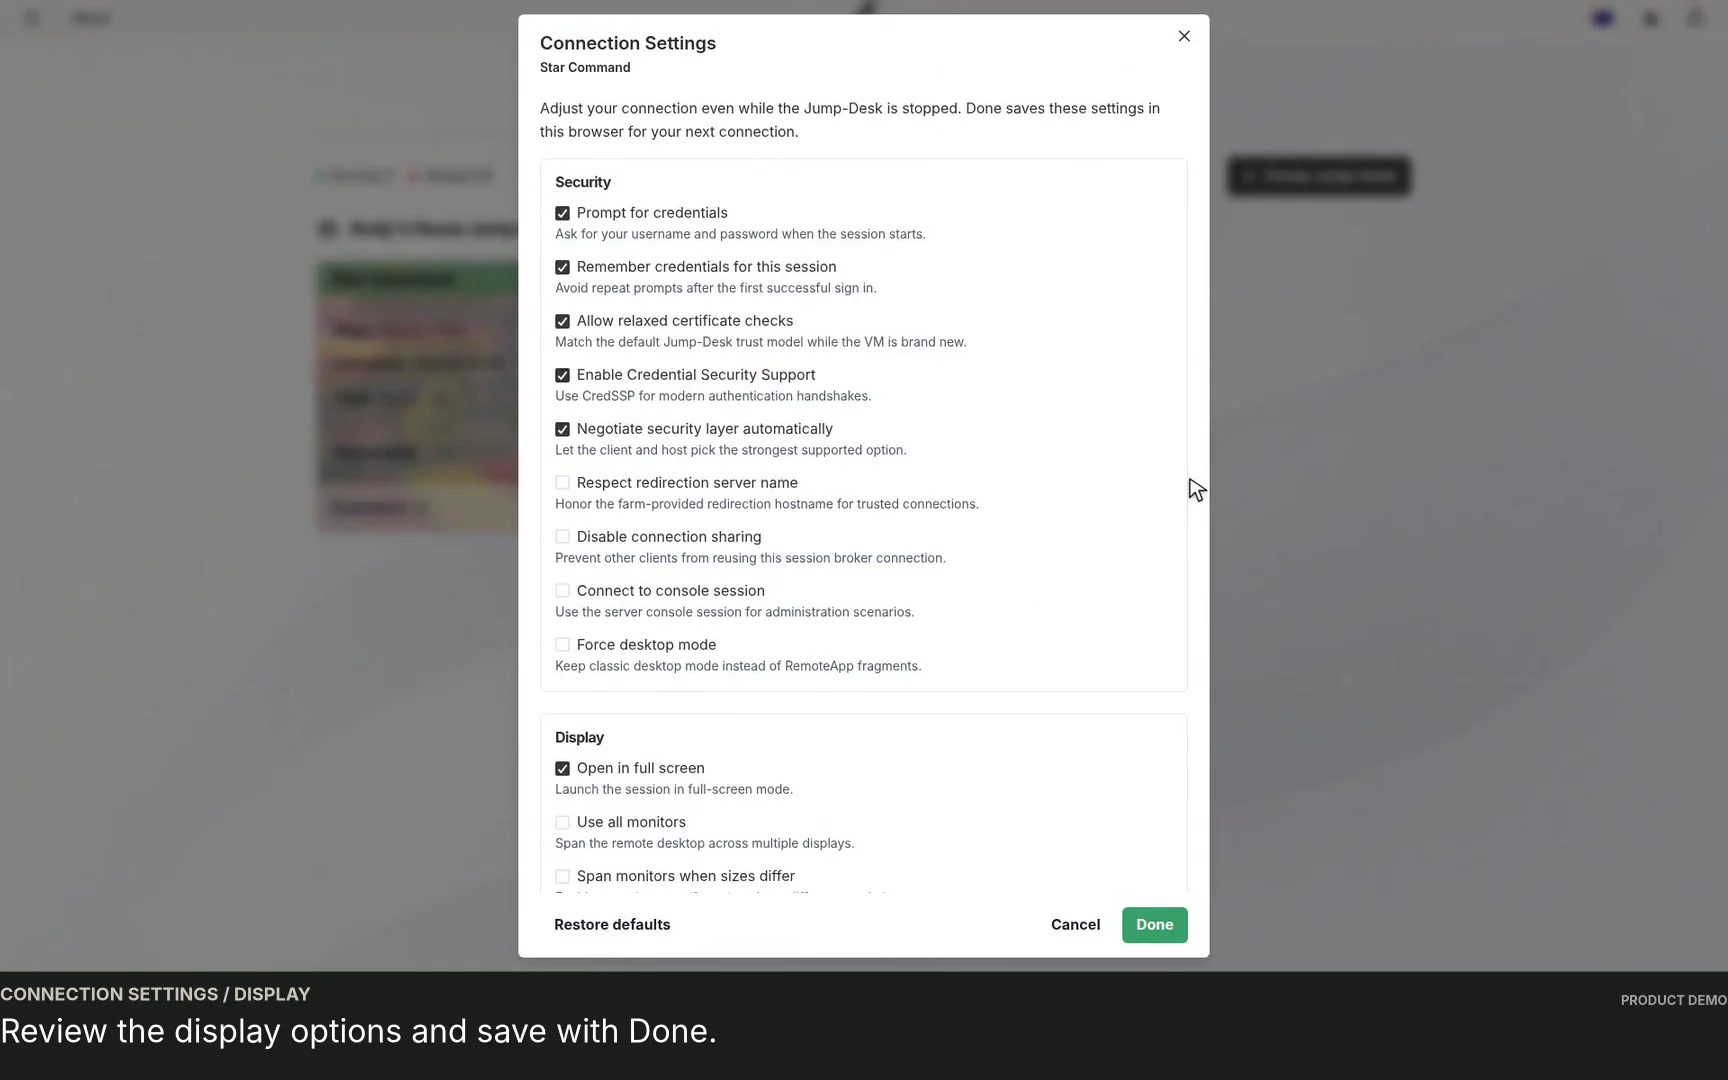
Buzz opens the connection options and reviews the display settings.
The member uses his own connection file for the running desktop.
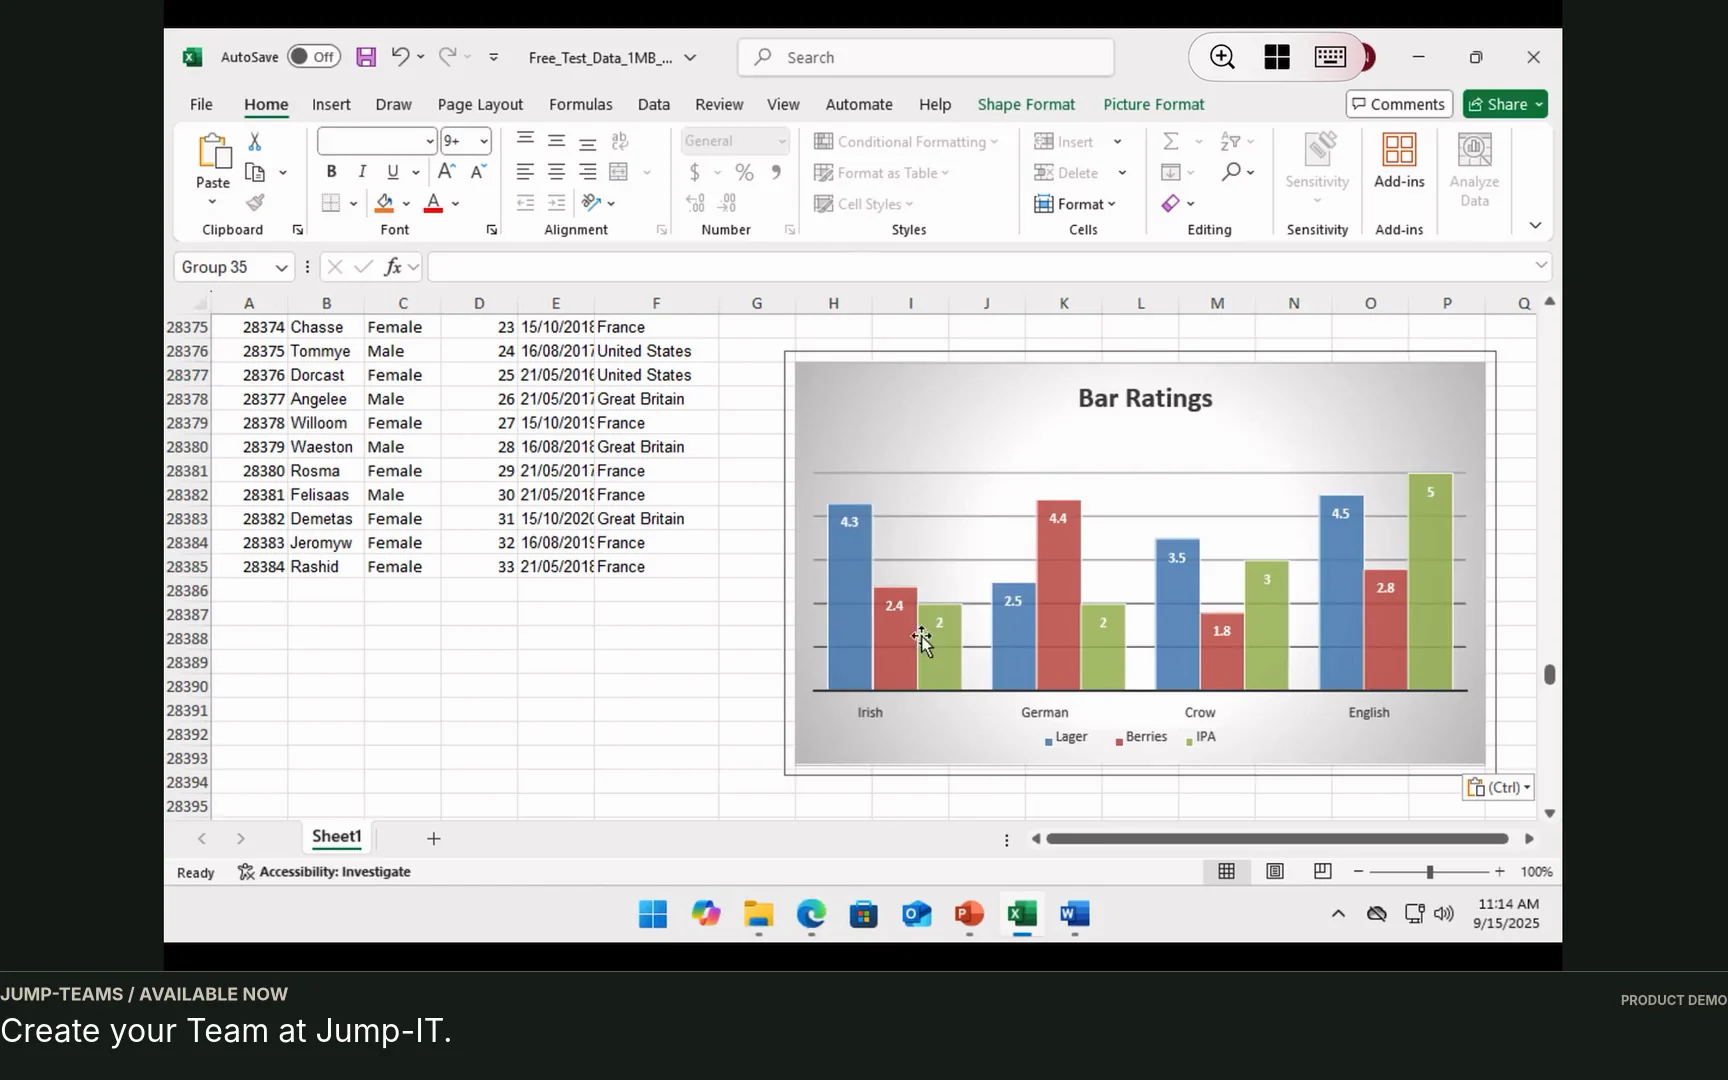
Windows opens, followed by a presentation, document and spreadsheet.
01 / GET INTO THE RIGHT TEAM
Open the invitation and sign in with the email your Team administrator used. After acceptance, look for the intended Team and desktop in Jump-IT. The recording shows a Member workspace with a Team desktop already prepared for Buzz.
Your Jump-IT account signs you in to the service. Your Windows account signs you in to the remote desktop. Keep that distinction in mind when the connection app asks for credentials. Your administrator can help confirm that the correct Windows account and access are ready.
If a desktop does not appear, check the active Team and your invitation status. If it appears but you cannot connect, ask the administrator to review Windows access and the desktop’s running state. Do not use another person’s saved connection file as a workaround.
02 / MAKE THE CONNECTION COMFORTABLE
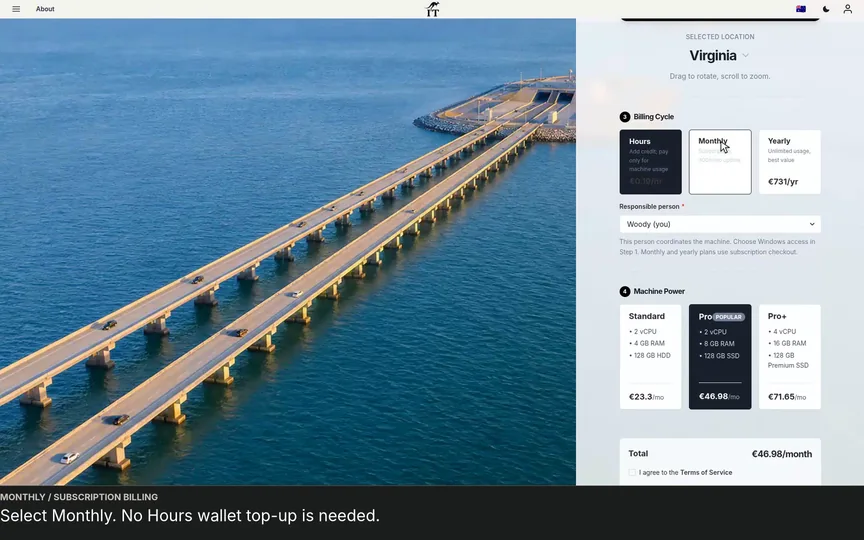
The demo opens Jump-Desk settings and then Connection Settings. Display options affect how the remote session feels on a smaller screen, laptop or external monitor. Review the options available to the connection app and device you use, then save with Done.
Install a supported remote-PC client for your device. The product provides connection-app links. On an iPad, a keyboard and pointer can make document and spreadsheet work more comfortable; the Windows on iPad guide explains the device-specific setup.
Remote Windows runs on the cloud desktop and sends the session to your device. It requires a suitable internet connection. The device’s screen, input methods, client capabilities and network conditions affect the experience, so try a normal working task before depending on it away from the office.
03 / OPEN YOUR WORKSPACE
With the desktop running and access ready, use Connect or the connection-file action offered by Jump-IT. Open that file with your supported client. Use your individual Windows credentials if the client asks you to sign in.
The recording moves from the connection to Windows, then opens a presentation, document and spreadsheet. Use this as a picture of the workflow, rather than proof that every Windows application, peripheral or specialised workload will work unchanged. Check the requirements of your actual software.
Save a representative document, reopen it and test the file-transfer or storage process your organisation uses. Keep application licences and account access in place. The Office applications shown are demonstrations and are not a promise of an included Microsoft 365 subscription.
WHEN SOMETHING DOES NOT LOOK RIGHT
The first session is a good time to confirm the support path with your Team administrator. The checks below narrow down common setup issues without changing other people’s access.
| What you see | What to check |
|---|---|
| The expected Team is missing | Confirm the invited email, acceptance and active Team. |
| A desktop is missing or unavailable | Ask the administrator to review access and the desktop’s state. |
| Windows asks for credentials | Use your own Windows credentials, which are separate from the Jump-IT sign-in. |
| The view is too small or awkward | Review display settings, client options and keyboard or pointer support. |
| An application asks for a licence | Sign in with the correct licensed software account or contact your administrator. |
| The session feels slow | Check the local connection and desktop workload; test the appropriate region with your administrator. |
FROM WATCHING TO WORKING
Keep your Windows credentials and connection file individual.
Follow your organisation’s file storage and backup process.
Disconnecting leaves a desktop running. Use the agreed stop process after work.
A FEW PRACTICAL DETAILS
They are separate. Jump-IT signs you in to the service and Team dashboard. The remote Windows desktop uses your individual Windows account and credentials.
Use a supported remote-PC client for your device. Jump-IT provides connection-app links and the connection details or file for the desktop.
A compatible device and supported remote-PC client can connect to the Windows workspace. Check the client requirements, input options and actual application workflow on your device.
No. Disconnecting a remote session is different from stopping the cloud desktop. Follow your Team’s agreed stop routine and the current plan terms.
Each Jump-Desk supports one active Windows user at a time. Separate Windows accounts do not provide simultaneous independent sessions on one desktop.
ANOTHER VIEW OF THE WORKFLOW
Prefer an overview? Read the business guide or the owner’s onboarding guide.
YOUR TEAM’S NEXT WORKSPACE
Choose an available configuration, review the complete price and start with one role you can evaluate.
The touchscreen MacBook Pro guide and Surface Laptop Ultra guide apply this connection process to current hardware. Test keyboard input, display scaling, reconnecting and the peripherals your job requires. A touchscreen or powerful local GPU does not make every remote-client feature identical across platforms.
Related device guidance added 31 October 2026.
TEAMS GUIDES
STARTUP GUIDE
Built by a startup, for startups. Give your team Windows cloud PCs on supported devices you already own, with invitations, access controls and flexible funding.
Read the guide →