FOLDABLE PHONE COMPARISON
iPhone Duo vs Galaxy Z Fold8 vs Pixel Fold.
Compare iPhone Duo, Galaxy Z Fold8 and Pixel for real work. New creator reviews, remote Windows limits and a practical path to a monthly cloud workspace.
Read the guide

Jump‑IT comparison library
Compare Jump‑Desk with alternative ways to access Windows, using detailed analysis of cost, technical requirements, administration, portability and practical trade-offs.

Comparison library
Every published article beneath Comparison appears here automatically, with the newest comparisons first.
FOLDABLE PHONE COMPARISON
Compare iPhone Duo, Galaxy Z Fold8 and Pixel for real work. New creator reviews, remote Windows limits and a practical path to a monthly cloud workspace.
Read the guideCOMPARISON · GALAXY FOLD & WINDOWS
Compare Galaxy Z Fold8, Fold8 Ultra and Fold7 for remote Windows and DeX. Separate phone comfort from cloud PC performance before choosing a setup.
Read the guideCOMPARISON · MAC & WINDOWS IN 2026
Understand the practical Mac-versus-Windows decision in 2026: Windows-only apps, the Windows 10 transition and flexible cloud workspaces for individuals and teams.
Read the guideCOMPARISON · TWO WAYS TO ADD WINDOWS
Compare a remote Windows Jump-Desk with Parallels Desktop on Mac. Review connectivity, local resources, software architecture and business use.
Read the guideCOMPARISON · WINDOWS CLOUD PCS
Compare Jump-Desk and Microsoft Windows 365 for individuals and small businesses, including plans, administration, connectivity and Teams workflows.
Read the guideCOMPARISON · CLOUD PC & LAPTOP
Compare Jump-Desk with buying a Windows laptop: connectivity, ownership, ongoing cost, software and practical small-business administration.
Read the guideYOUR NEXT STEP
A useful comparison includes application compatibility, internet dependence and the full cost of keeping the desktop. Check the configuration in Jump-IT before making a commitment.
Configure your Jump-Desk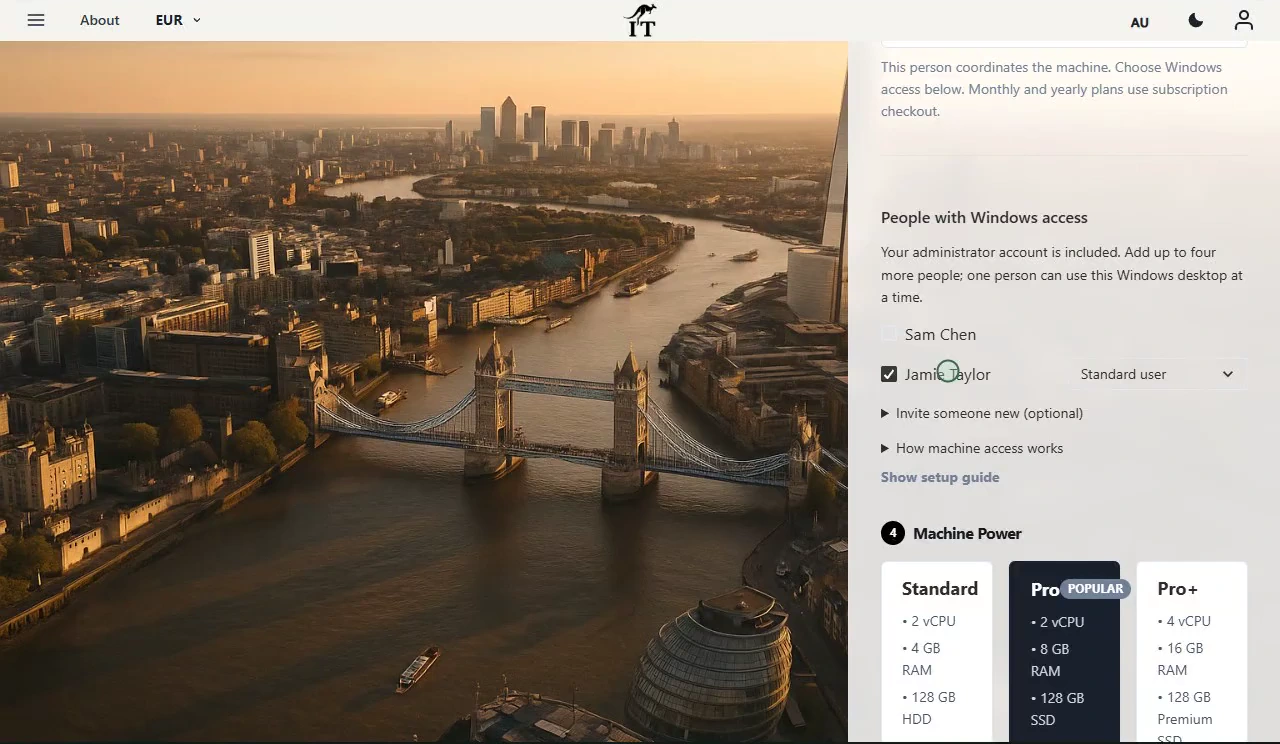
This library compares Jump‑Desk with other ways to obtain or access a Windows desktop. Each article examines the operating model, costs, requirements and limitations, then explains when Jump‑Desk is the better fit and when the alternative may be more appropriate.
Comparison approach
A Jump‑Desk is a persistent Windows 11 Pro cloud desktop created and managed through Jump‑IT. It is not automatically the best option for every person or workload.
These comparisons use the current Jump‑IT product workflow and available information about the alternative. Pricing, capacity, specifications and third-party services can change, so each article identifies its review date and directs readers to live sources where appropriate.

Prepared and maintained by the Jump‑IT Team. Reviewed 8 September 2026 against the current Jump‑IT product workflow and published comparison hierarchy.
Product behaviour, pricing and third-party services can change. Check each comparison’s review date and use the linked live product information as the source of truth before making a purchase decision.
SEE THE PRODUCT IN ACTION
These recordings show the current Jump-IT interface with demonstration data. Use the controls to pause, replay or view a recording full screen.
Name your desktop, choose a region and plan, and review the configuration before checkout.
Find the display settings, adapt the connection to your screen, and download the connection file.

CURRENT WORKFLOWS · SEPTEMBER 2026
An assistant can help draft a report, explain a formula or plan a workflow, while the final task still depends on a Windows desktop application, plug-in or client system. Start with that application and its requirements. A browser-based assistant alone is not a reason to add another computer; a compatible Windows-only workflow may be.
A retained Jump-Desk keeps that Windows environment available between sessions. For colleagues doing the same kind of work, Jump-Teams adds invitations, roles and desktop assignments. AI subscriptions, Microsoft 365 and other paid applications require their own licences; a cloud PC does not include those subscriptions or promise specialist GPU hardware.
Read the business guide to invitations, roles, funding and desktop assignments.
Explore Jump-Teams →Follow a practical onboarding checklist, from a first pilot to reviewing access when a role changes.
Read the team onboarding guide →Eligible Hours desktops use prepaid funding. Compute charges apply while running, and the separate service charge continues while the desktop is retained. Stopping the desktop preserves its files and ends running compute charges; deleting it permanently removes the desktop. Review the wallet, current rates and funding permissions in Jump-IT before creating one.
For regular work, Months includes up to 300 hours of uptime per desktop each month. Review the current Years option when a longer commitment suits the requirement. Each desktop has its own plan, region and performance tier.
Compare current plans →Read the comparison closest to your decision, identify the requirements that matter to you, then review current Jump‑Desk regions, billing options and performance tiers before purchasing.