The owner prepares
A Team, an appropriate desktop and a decision about permissions.


OWNER WALKTHROUGH · ONBOARDING
Edited product recording with music and on-screen guidance. Fictional people, team and demonstration data. The running time is not a setup-time promise.
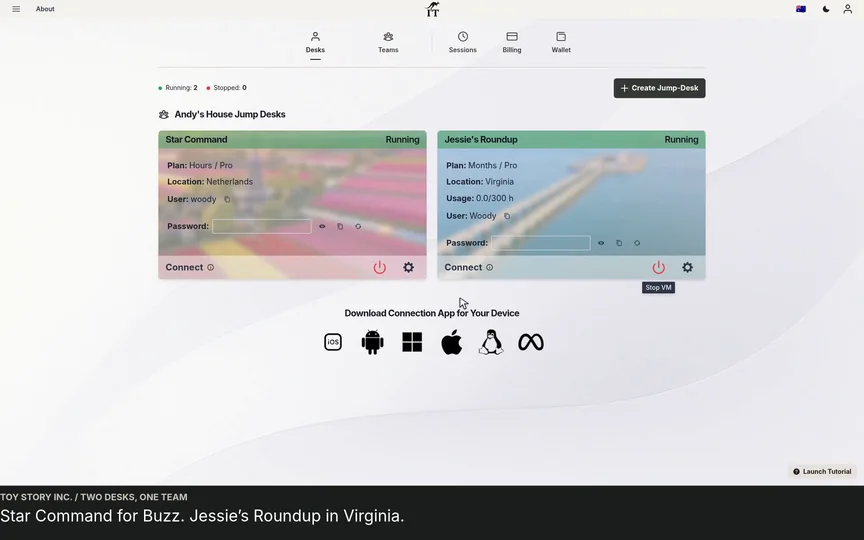
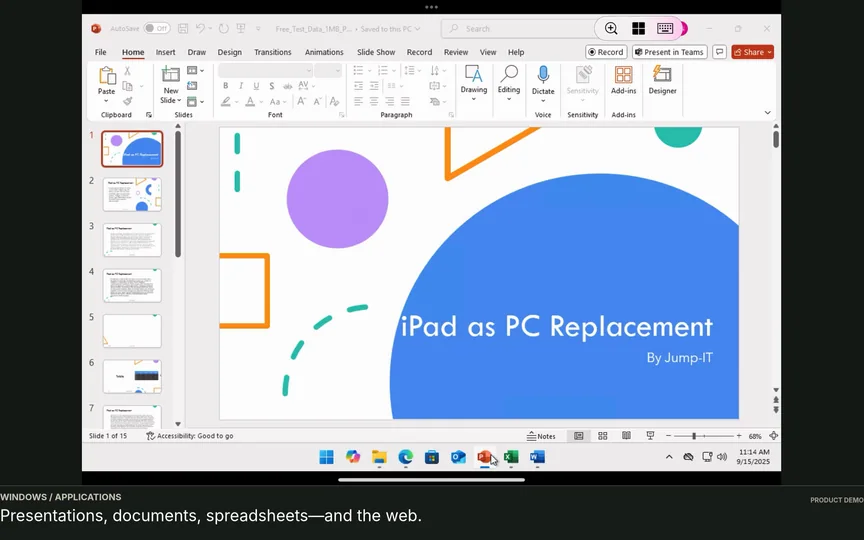
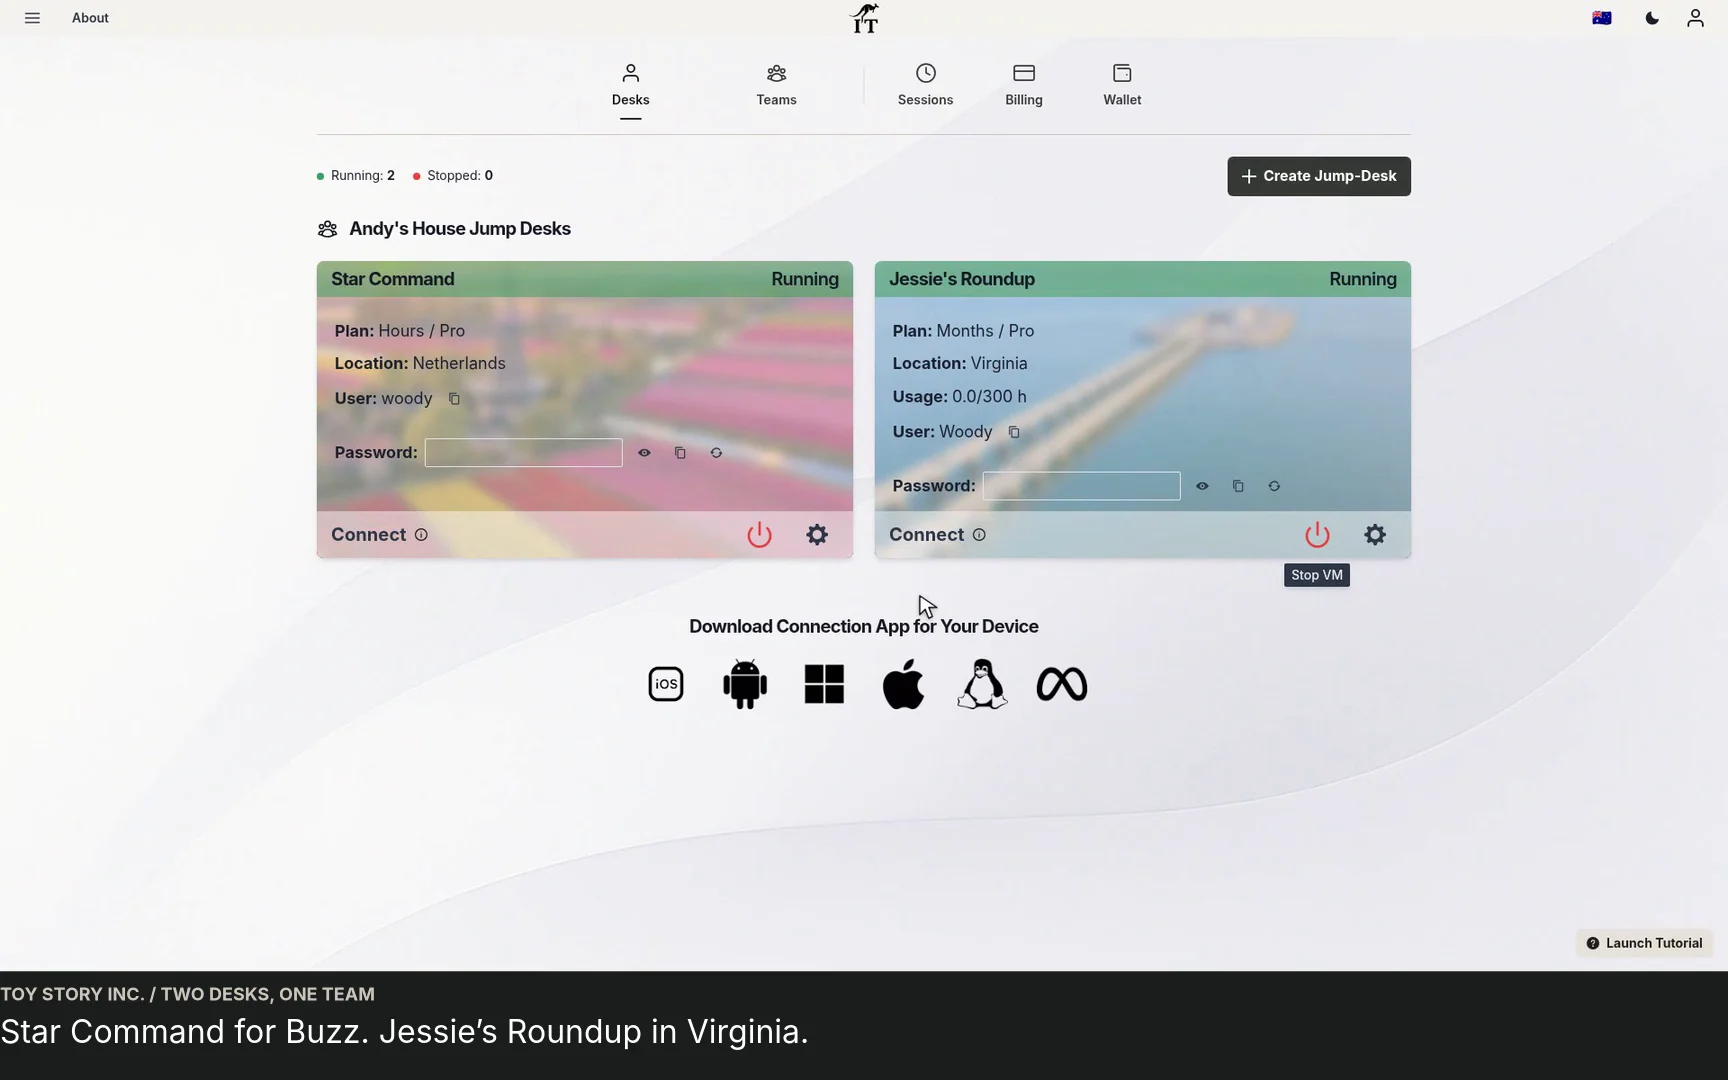
Open videoFollow the first handover from the owner’s side and the member’s side. Woody creates a fictional Team, invites Buzz, sets his permissions and hands over an existing Jump-Desk. The recording continues through to a working Windows session.
THE PRACTICAL ANSWER
To onboard a Team member, create or choose the correct Team, invite the email they use to sign in, select their role and capabilities, then review desktop responsibility and Windows access. After accepting, the member uses their own account and connection file to reach the running desktop.
Invite the email the colleague will actually use.
Review both Team controls and Windows privileges.
Confirm the colleague can complete a real task.
WATCH OR READ
Use these notes to follow the video at your own pace.
Open Teams and create the fictional Andy’s House workspace.
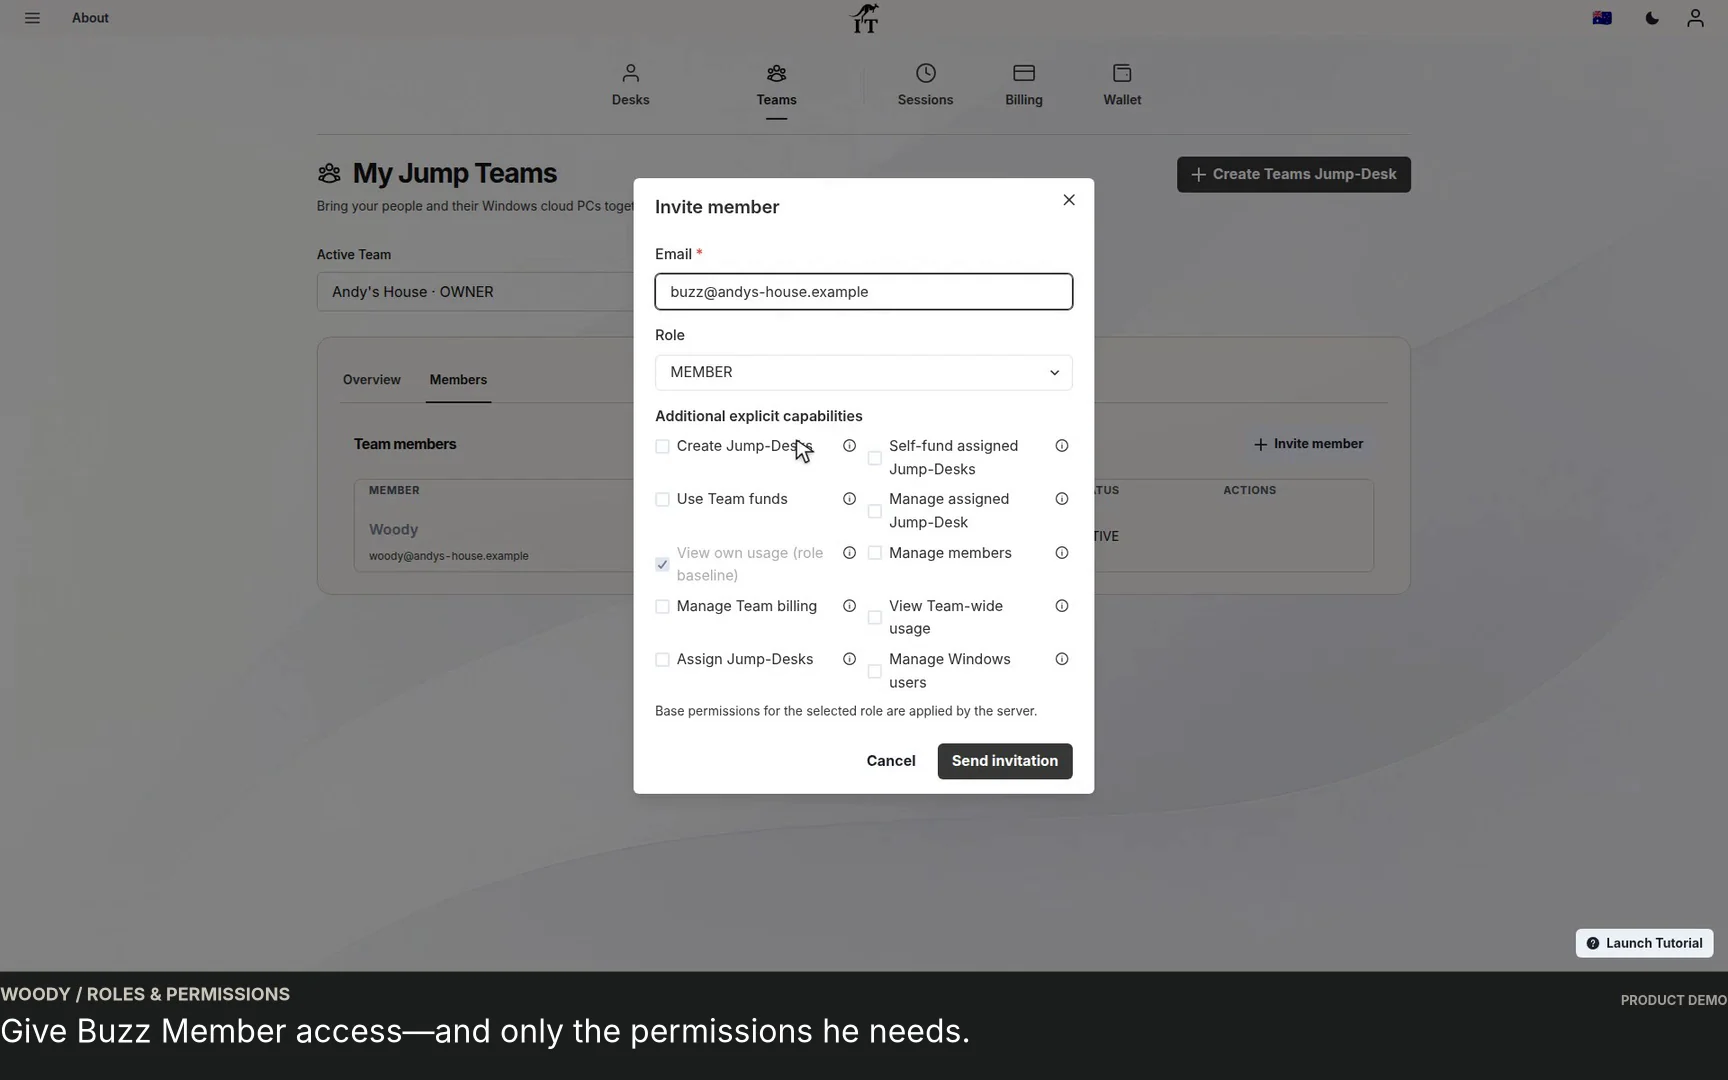
Enter the member’s sign-in email and review the Member role and capabilities.
The recording follows Buzz through the invitation and confirmation.
Review the existing Jump-Desk’s responsible member and Windows access.
Buzz sees the Team desktop and the information available to his role.
Review Connection Settings and download Buzz’s connection file.
The walkthrough ends in Windows with example office applications.
BEFORE THE INVITATION
For a first hire, contractor or colleague joining a project, write down the Windows application they need and who will help if something does not work. Confirm the intended device, internet connection and any software licence requirements before choosing the desktop.
The video begins with an existing Jump-Desk available for the handover. If your Team needs a new machine, choose an available region, plan and tier in the product first. The regional desktop walkthrough shows that separate setup flow.
A Team, an appropriate desktop and a decision about permissions.
Their sign-in email, supported connection app and application credentials.
01 / PEOPLE
In Teams, choose the correct active Team, open Members and select Invite member. Use the colleague’s sign-in email. The demo chooses Member for Buzz and reviews the additional capabilities before sending the invitation.
A person who needs Windows for everyday work does not automatically need control over Team billing, invitations or other people’s desktops. Review the available permissions deliberately, using the product’s help text. Base permissions for the selected role are applied by the service.
Ask the colleague to accept the invitation using the intended account. Sending an invitation and accepting it are separate steps. If the expected Team does not appear, check the email and invitation status before sending another invitation.
02 / THE WORKSPACE
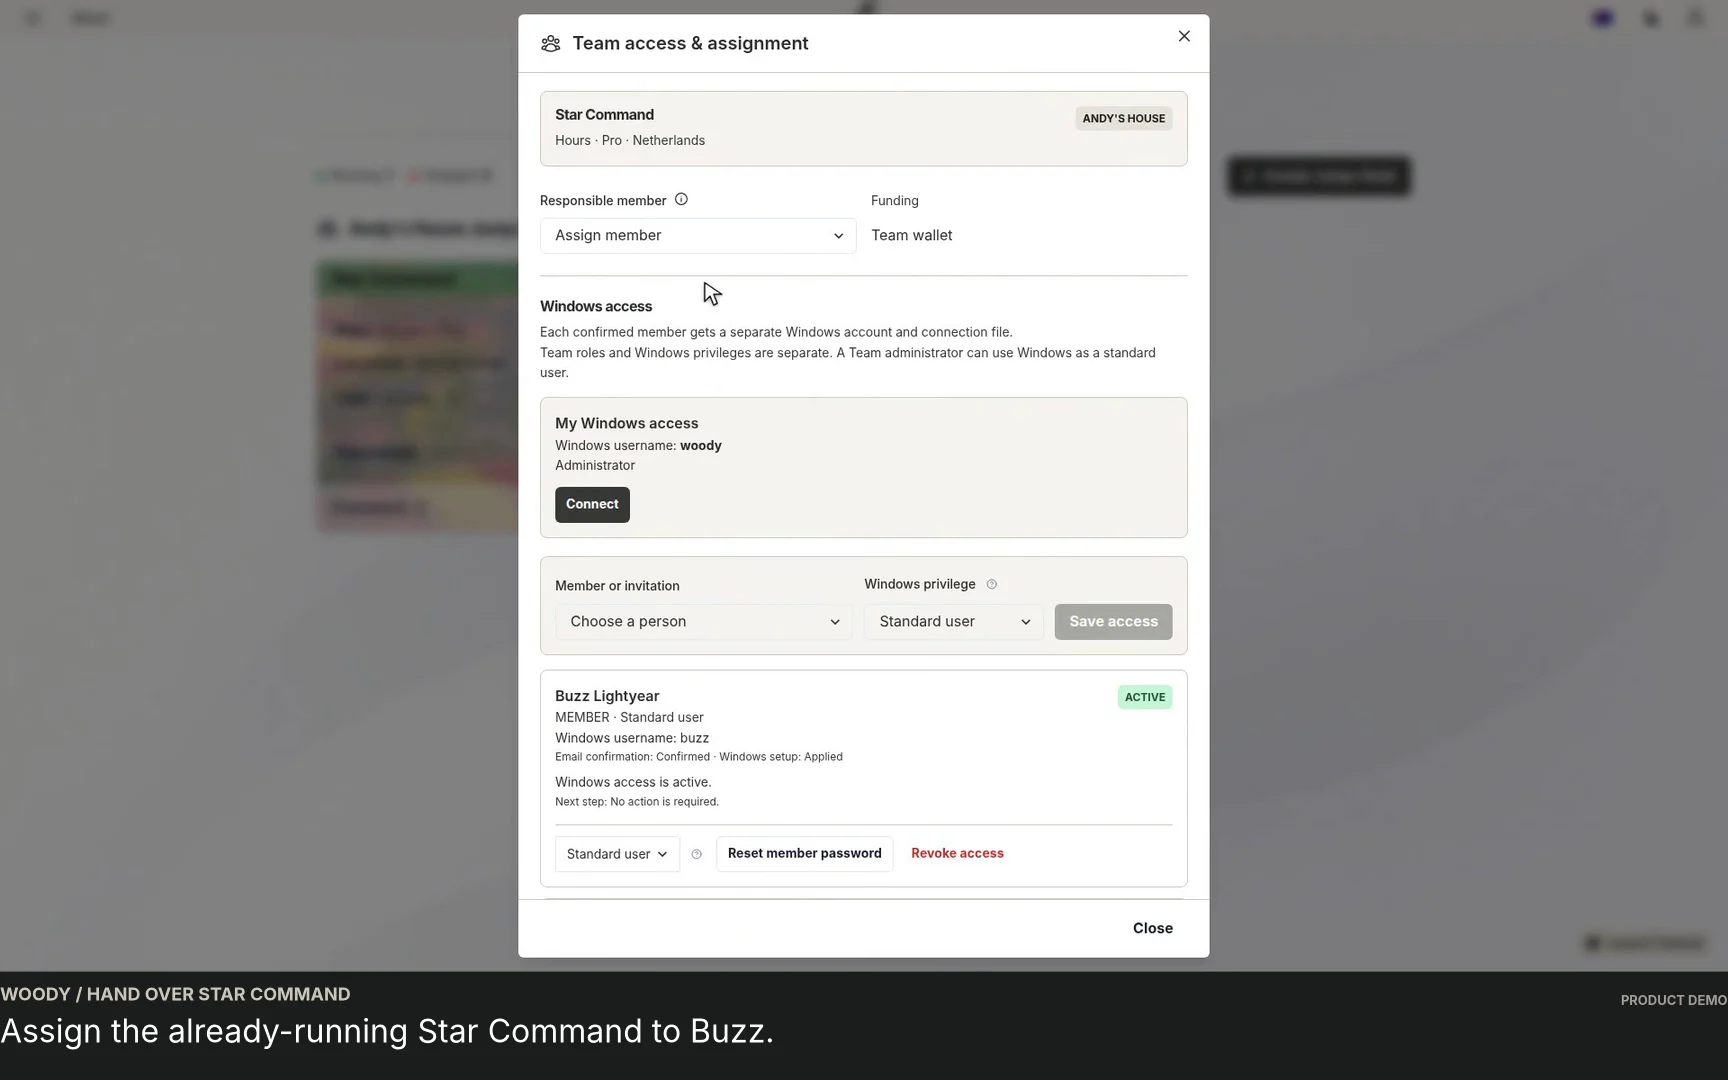
The owner opens the existing desktop’s Team access and assignment panel. The responsible member associates usage with the person accountable for that workspace. It is separate from the Windows access list, which controls the individual Windows accounts on the machine.
Check that the member’s Windows access is ready. A confirmed member receives their own Windows account and connection file. If the product shows that Windows setup is still required, complete the indicated step before handing over the desktop.
Standard Windows access is suitable for everyday tasks that do not need administrative changes. Some installation or configuration work may require an administrator. A Team role and a Windows privilege are separate settings, so do not assume one automatically determines the other.
03 / THE FIRST SESSION
The recording then switches to Buzz’s account. He can see the Team and its available Jump-Desk, review connection settings, download his own connection file and reach Windows. This last check is useful: an invitation is only part of a successful handover.
Have the colleague complete the work their role requires. A contractor building a customer portal should be able to open the project repository, run the app with its test accounts, check it in a Windows browser and save changes through the agreed source-control process. For an operations colleague, prepare the business application and project folders they need for the working day. Check input, display and required file transfers on their actual device. The member connection walkthrough covers this side in more detail.
Agree the working hours, stop permissions and support contact. Disconnecting a remote session does not stop the cloud desktop. Hours includes running compute plus a service charge while the desktop is retained, including while stopped. Months has a full monthly price with up to 300 uptime hours per desktop per month. Include software licences and your backup process, and review the current funding permissions and checkout terms before choosing. The public calculator can help compare a routine; it is not a complete team invoice.
| Check | Owner or administrator | New member |
|---|---|---|
| Invitation | Confirm the intended email, role and invitation status. | Accept using the invited account. |
| Windows access | Check the account, privilege and setup status. | Use the individual account and connection file. |
| The real task | List the applications, versions, licences, add-ins, project folders and accounts required for the role. | For a developer, build and run the project on Windows; for a consultant, complete the client quotation and export the proposal. Use the intended device, input and normal connection. |
| The finished result | Agree the output format, destination and backup/export process. | Save, export and reopen the result where it will be used; check it before relying on the workflow. |
| Funding and allowance | Confirm the selected plan, authorised payer or funding source, current allowance and who reviews usage. | Know who to contact before changing the configuration or funding arrangement. |
| End of the session | Agree operating hours and stop permissions. | Save work and follow the agreed shutdown routine. |
FROM WATCHING TO WORKING
Keep a short checklist of the role, desktop, applications and support contact.
Use separate Team membership and Windows access for each colleague.
Revisit Team, Windows and application access when responsibilities change.
A FEW PRACTICAL DETAILS
Each Jump-Desk supports one active Windows user at a time. Individual Windows accounts help with authorised access and planned handovers; they do not create simultaneous independent desktops. Give colleagues separate Jump-Desks when they need to work concurrently.
Team membership and Windows access are separate. An authorised administrator must ensure that the intended desktop and individual Windows account are ready for the member.
Choose the role and capabilities needed for the person’s responsibilities. A colleague using a Windows application may not need billing, member management or desktop administration permissions.
Yes, the recording demonstrates an existing Team Jump-Desk handover. Review desktop responsibility, Windows access and any funding restrictions shown by the product before making changes.
Check that they accepted the invitation with the intended email and that the invitation and membership are confirmed. Then review access in the correct Team.
Review Team membership, Windows access, application accounts and business files together. Do not treat a single membership change as a complete offboarding process.
ANOTHER VIEW OF THE WORKFLOW
Prefer an overview? Read the business guide or the owner’s onboarding guide.
YOUR TEAM’S NEXT WORKSPACE
Choose an available configuration, review the complete price and start with one role you can evaluate.
A team can use different supported access devices without sharing one Windows login. The MacBook-led global team example and Surface-led development example show the decisions around people, project tools and separate desktops. Complete the first member’s actual connection and application acceptance check before repeating the setup for everyone.
Related device guidance added 31 October 2026.
TEAMS GUIDES
STARTUP GUIDE
Built by a startup, for startups. Give your team Windows cloud PCs on supported devices you already own, with invitations, access controls and flexible funding.
Read the guide →